Essential Equipment for At-Home SCI Rehab Workouts
Working out after a spinal cord injury can be challenging for many reasons:
Access
Costs
Commute
Time
In many cities, there are limited options (or no options!) for accessible gyms or fitness centers that cater to the needs of wheelchair users. In addition, out-of-pocket activity-based therapy and co-pays on insurance-based physical & occupational therapies can really add up. The time commuting to and from these facilities can be a burden when trying to work, go to school, be present for family and lead a normal schedule.
With these common challenges in mind, Zebrafish Neuro strives to make workouts accessible through simple equipment and guided home programs for spinal cord injury (and other neurological conditions).
>> Check out this webinar on remote coaching and ideas for floor transfers.
Implementing SCI recovery programs in your own home can feel overwhelming and you may be asking yourself these questions:
Can someone make progress through an at-home SCI recovery program?
What SCI rehab exercises can you do at home?
What equipment do you need for at-home SCI recovery programs?
How do you transfer out of the wheelchair for exercises?*
How can your partner, caretaker or friend help you with your exercises?
With a few simple tools and the right coach or guide, at-home therapy programs for SCI can be accessible, sustainable and effective for the following goals:
Building strength of preserved muscle groups for daily life
Maintaining or improving joint mobility through high neurological tone
Recovery of function below the level of injury
Sports performance for recreational and competitive adaptive activities
In this article:
We outline four of the most important, yet cost-effective pieces of equipment for an effective SCI recovery home-workout program.
Deck out your home workout space for less than $150!
These are the exact products we have of our 1:1 Remote Coaching clients invest in to keep them feeling supported, challenged and progressing in their home-based program.
Essential #1: Floor Mat
8’x4’ Gymnastics Mat:
Find it on Amazon here for $99.99.
As you may or may not already know, we at Zebrafish Neuro love to move on the floor! It provides a wide open space to stretch out without the fear of falling onto the floor.
Check out our post on Instagram that gives you everything you need to know about why we believe so strongly in floor-based movement.
Your standard yoga mat is likely too thin to provide enough padding and too narrow to roll around on. Instead, we recommend this 8ft x 4ft gymnastics mat that folds up into a 4ftx2ft stack. The mat is about 2” thick for ample padding and is wide enough to practice your X-rolls.
If you have extra space in your living room, consider velcroing two of these mats together for more expansive movements like advanced rolling sequences or crawling.
Other options for floor mats include:
A large area rug or carpeted area
Multiple yoga mats laid out side by side
Puzzle piece mats (commonly used for kids play areas or garage gyms)
Essential #2: Squish Ball
This ball is our favorite tool for supporting movement after SCI… so much so that we created our own ball! If you don’t have a squish ball yet, you NEED to stop what you are doing and order one (or two)!
Every single home program we write for our clients involves the squish ball in some way. It’s extremely versatile to support SCI recovery programs through:
Self-massage
Hip and spine mobility drills
Central nervous system support strategies
Making exercises more challenging
Making exercises less challenging
Challenging stability in an exercise
Increasing the range of motion available in a position
Supporting the trunk or limbs during an exercise
Check out how ZN athlete Chelsea Z. demonstrates some of our favorite squish ball exercises here!
Essential #3: Resistance Band Kit
Stackable Resistance Band Kit with carabiners, straps and handles & more:
Find it on Amazon here for less than $20.
Resistance bands are a huge bang for buck when building your home workout space!
They can be used to:
Build shoulder and back strength through pulling, pushing and isometric exercises
Support seated posture development with a lumbar sling
Provide input to areas with a ‘fuzzy’ connection
Create connection in fascial lines depending on your anchor placement and ‘line of pull’
For the most versatility, we recommend investing in this stackable resistance band kit, which includes:
Several bands of increasing resistance (
“Stackable” feature which means the ends have carabiners (see photo below) to attach to velcro loops or handles
Velcro loops for wrists, arms or ankles
Handles
A door anchor
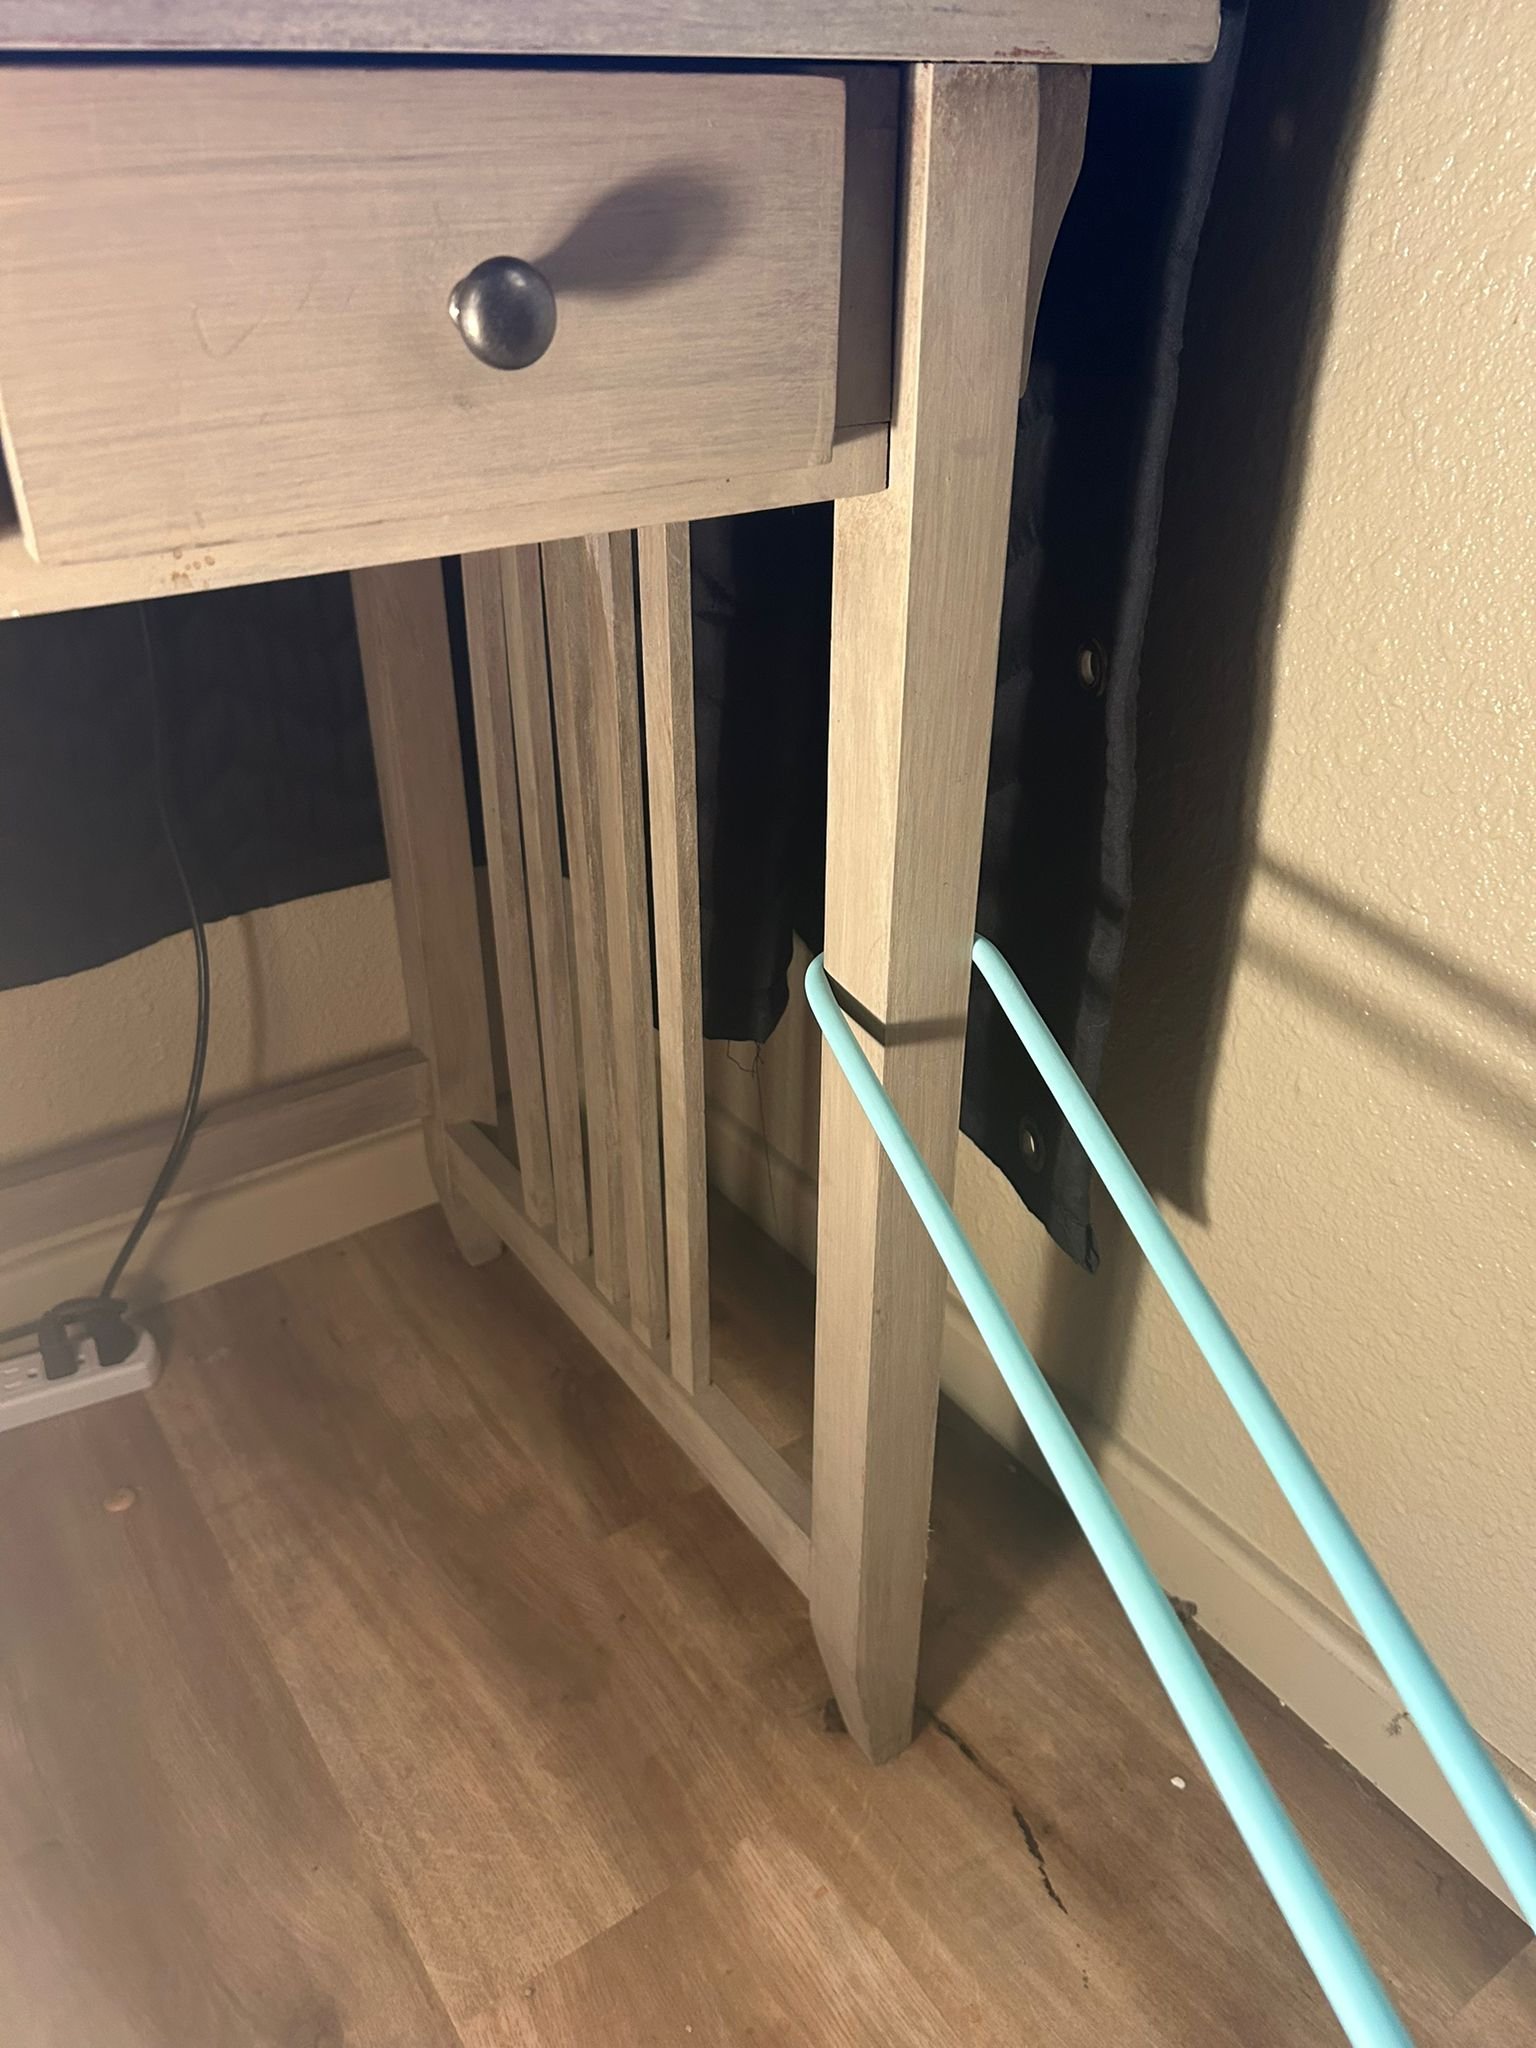
For those with limited grip strength
Use the velcro cuffs, these canvas straps, or these Y-loops around your elbows. This arrangement allows you to focus on building scapular and back strength without being limited by triceps, wrist or grip strength.
How to set up bands
Bands work best when they are secured to an anchor point near year floor space. These anchor points need to be secure enough so when you pull on the bands, or use them to support the weight of your limbs or torso, they don’t come free! You can do this in a few ways:
Use the door anchor that came in your kit (this only works if your workout space is near a door): place the door anchor at the desired height with the door closing TOWARDS you so that the door cannot become unlatched with a pull. Loop your bands through the door anchor and give them a good pull to test it out!
Loop your band around a sturdy piece of furniture: make sure it doesn’t slide up or down too much. And make sure it doesn’t knock anything over when you pull on it!
Install a wall anchor/eye hooks: This might be the best, most reliable no-fuss set-up once you get it going. If possible, install multiple anchor sites so you have options for in-the-wheelchair and on-the-floor exercises.
Essential #4: Sliders
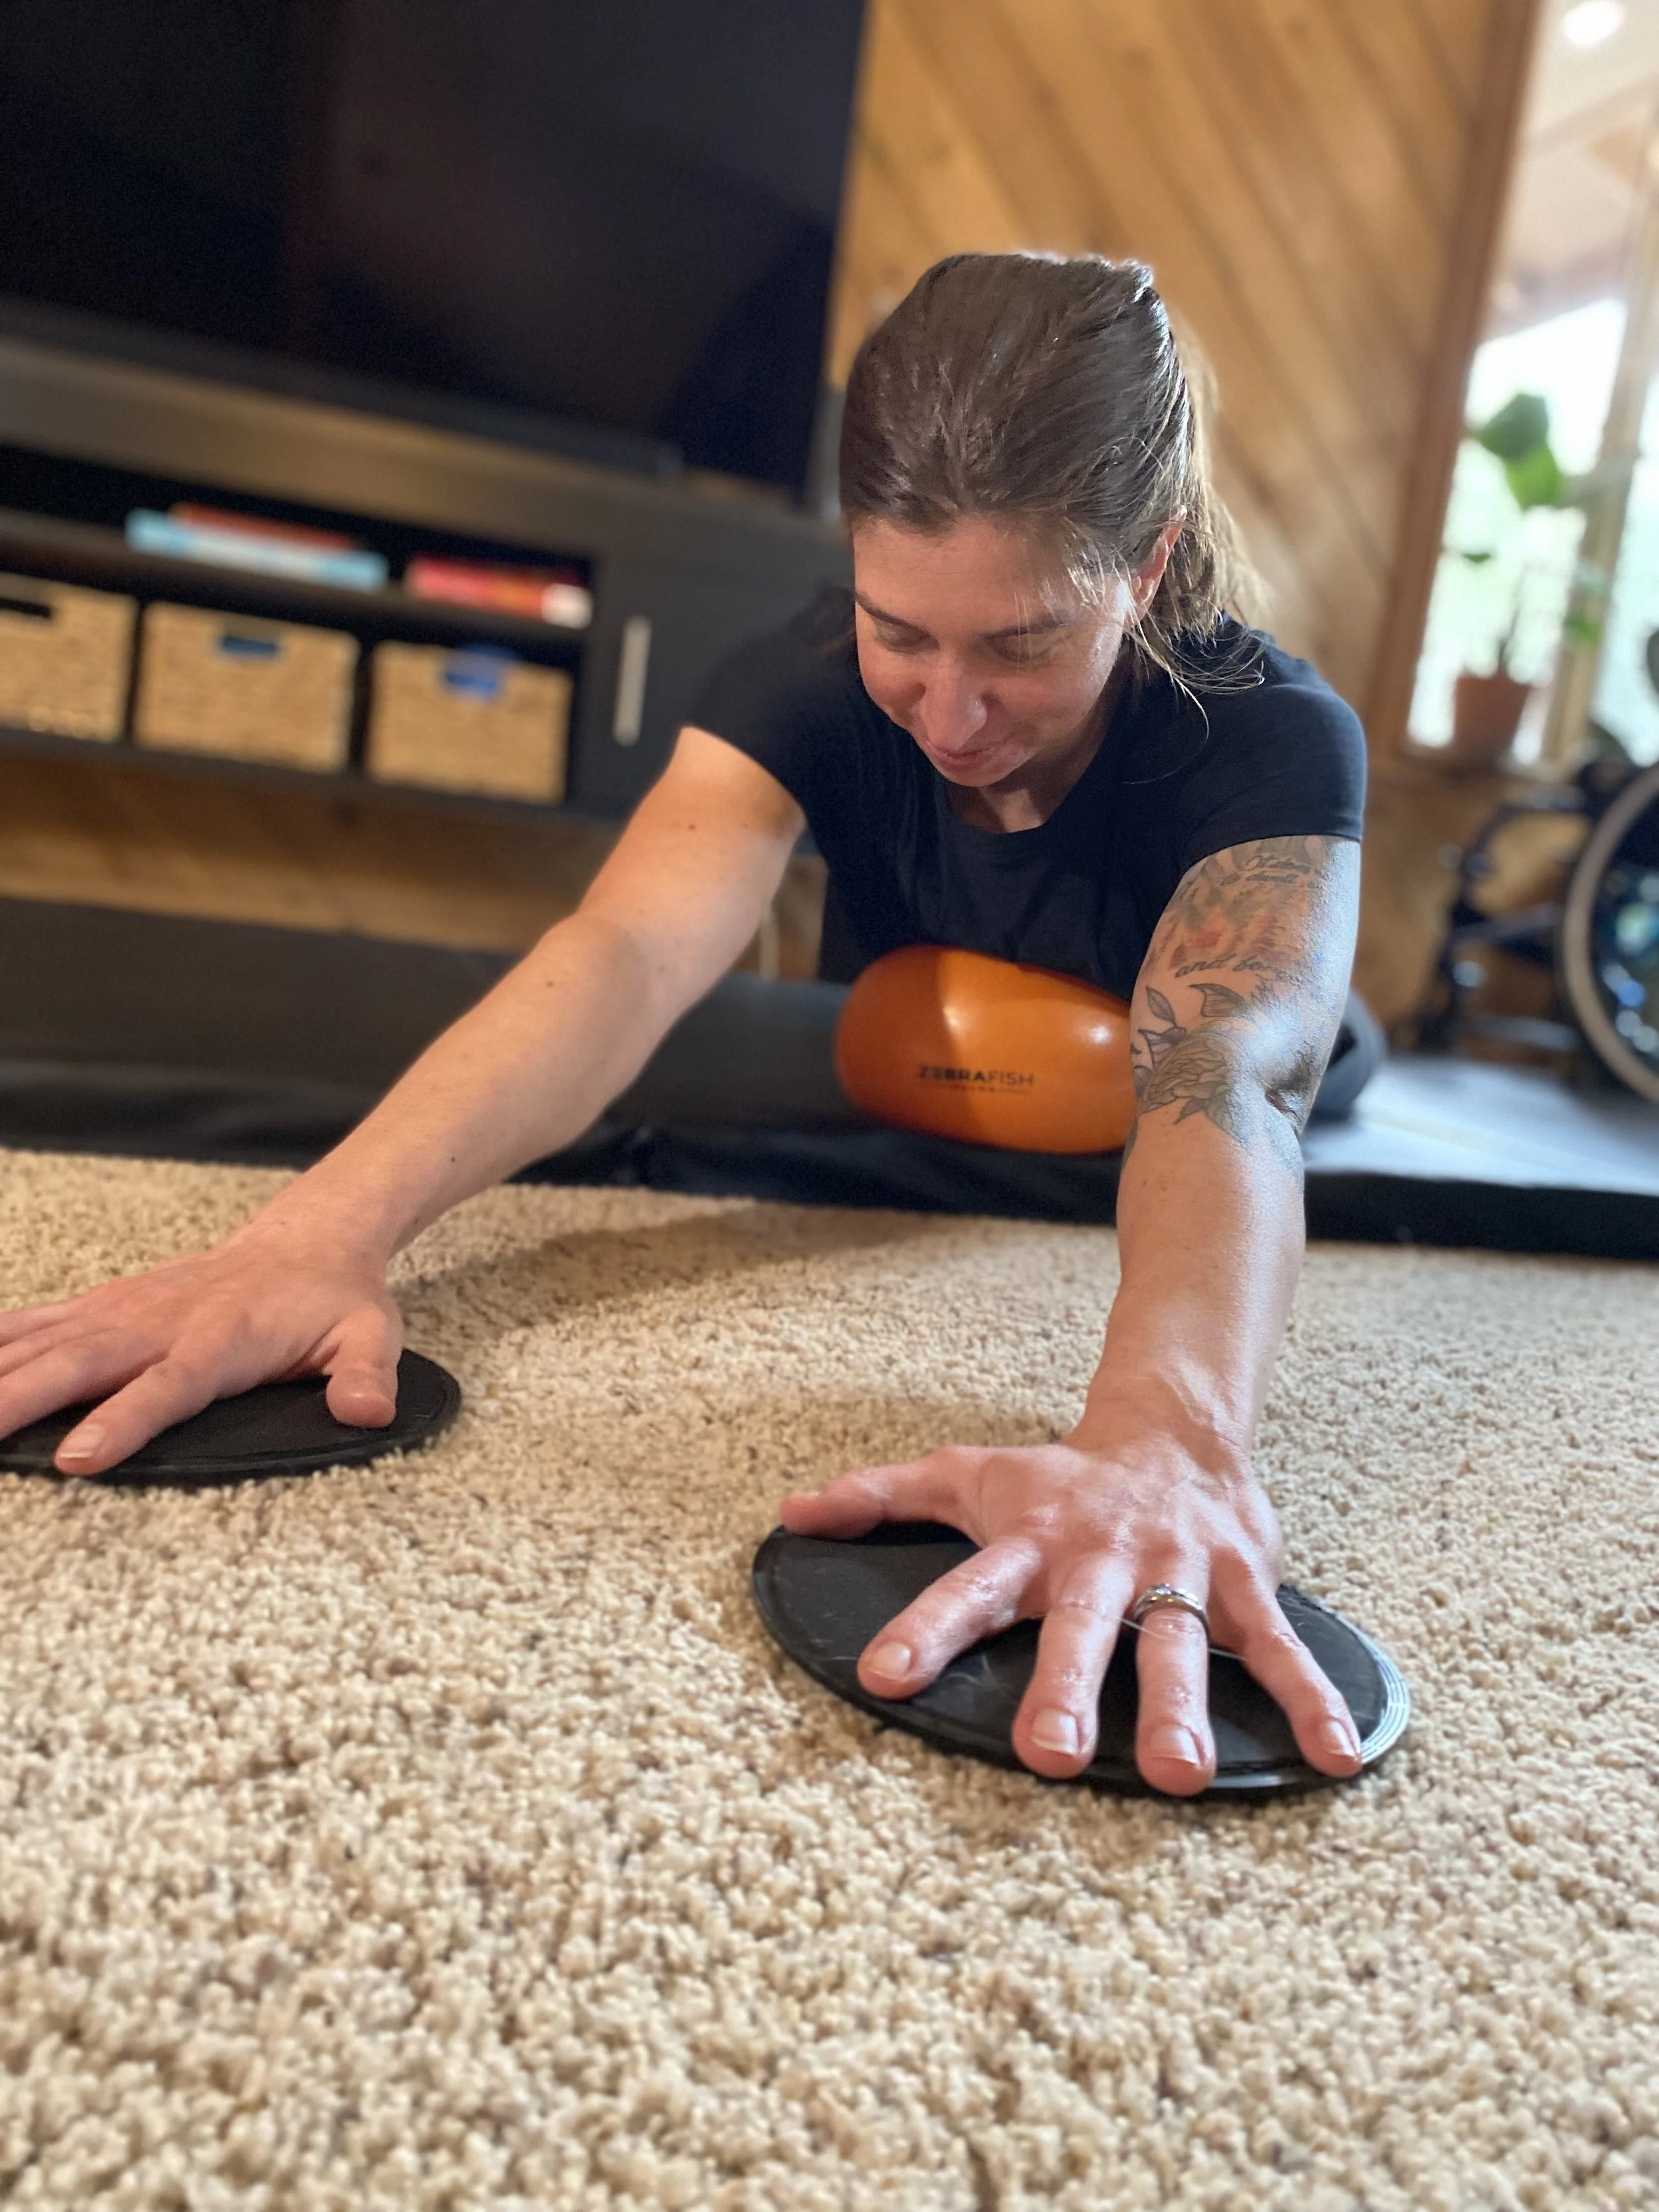
Sliders can make exercises more challenging, asking for more control and stability, while making other movement more accessible by removing friction.
These sliders come with two different surfaces on each side so you can use them either on carpet or hardwood/floor
The smooth plastic side is to be used on carpet or turf.
The cloth/sponge-like side is to be used on slicker mats, hardwood or tile.
These sliders have the perfect surfaces to glide on whatever floors you are using, but you can try using a Tupperware lid over carpet or a washcloth on hardwood until they arrive at your door!
We sometimes combine sliders and resistance bands to train deeper control, stability and force production. This truly makes for a whole-body movement experience!
Workout Sliders
Find them on Amazon here for only $10.99.
Other helpful props
For home programs, that you probably already have around the house:
Large pillows (or a yoga bolster)
Swiffer mop for upper body exercises
Mirror for visual feedback on posture and alignment
Your wheelchair!
Zebrafish Neuro co-founder, Theo St. Francis, demonstrates how to use your wheelchair as a prop for home exercise.
BONUS: Naboso Wedges
When working to reconnect to paralyzed areas, it is important to strive for neutral alignment & posture. Since our base of support influences how everything else in the system stacks up, a well-placed wedge can make all the difference to the comfort of the body* and the effectiveness of your exercises.
A few ways we use a wedge include:
Propping up the pelvis out of posterior pelvic tilt
Propping up the pelvis on one side to help the body feel level (this is great for those with discrepancies in glute muscle tissue bulk between the two sides)
Propping up shoulders in supine so the chest muscles can relax and open naturally
Propping up rotations in the trunk in supine (especially for those with scoliosis) to help the body feel supported and settled
Placing under hands to relieve compression in the wrist during quadruped exercises
Propping up areas of the foot to prevent ankles from rolling in or out
You can use any object that can safely prop up these areas, such as a rolled up towel or yoga wedge.
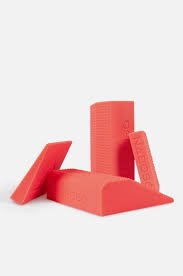
We love these wedges by NABOSO specifically because:
They are small, easy to grab and easy to slide into place, wherever needed.
The slightly sticky surface (silicone) does not slide out easily.
The signature NABOSO texture provides sensory information to the skin for improved proprioception and grounding.
Brightly colored so you never lose them!
A set of wedges in your home workout space provide sensory feedback for posture or facilitate a better position of joints during exercises.
Checking out your cart
And there you have it: a complete home workout space for SCI recovery for less than a couple of in-person sessions with a trainer or therapist.
The equipment we laid out in this article are great basics to start your home workout space. Considering how much traditional SCI rehab medical equipment costs, these simple pieces are a very small investment - financially and the physical space in your home - towards creating an accessible and sustainable home program that you can use whenever you want (and even take with you when you travel!).
Once you have your materials, take some dedicated time to configure your space: collect all your props in an attractive basket, install any wall anchors you need, and keep your mat out (if possible) to encourage you to move often. The whole idea of creating this space for yourself is to create an accessible movement routine for a healthier, more active lifestyle where you can move more on your own.
So, what happens next?
Find our various exercise tutorials using this equipment on our Instagram.
Join us for an upcoming [free] Community Class.
Find a trainer for remote coaching: check out ZN Professionals offering remote sessions.
About the Author of this Blog
Stephanie Comella
co-founder of Zebrafish Neuro
B.S. Exercise Biology
Nationally Certified Pilates Teacher (NCPT) - specializing in Spinal Cord Injury
Stephanie Comella has been working with individuals with spinal cord injuries since 2011. She blends her formal education in movement science, Pilates, and other mindful movement modalities with neurological science to provide an intuitive, hands-on style of teaching focused on body re-connection. Stephanie aims to empower both individuals with SCI and their trainers using a human-powered healing approach.
You can read her full bio here.


